The website uses cookies, e.g. to collect data on website traffic. You decide to accept cookies in your browser settings.
+48503663933 [email protected] Rządza 10E, 05-304 Stanisławów 24h

Blog

Welcome to the CoolTRONIC.pl blog, where we share the latest news and insights about our journey as an AI-driven company merging art and technology.

In this article, I will show you how to import an Eclipse project with an external jar library to IntelliJ Android Studio. We need to select the last option Import project (Gradle, Eclipse ADT, etc.)” so that the application will be converted to gradle. In my case, the project needs corrections to compile the project. Below is the code of build.gradle modified file.

// Top-level build file where you can add configuration options common to all sub-projects/modules.
if (hasProperty("buildScan")) {
    buildScan {
        licenseAgreementUrl = 'https://gradle.com/terms-of-service'
        licenseAgree = 'yes'
    }
}
buildscript {
    repositories {
        mavenCentral()
        maven { url 'https://maven.google.com' }
        google()
        jcenter()
    }
    dependencies {
        classpath 'com.android.tools.build:gradle:3.1.0'
    }
}

allprojects {
    repositories {
        mavenCentral()
        maven { url 'https://maven.google.com' }
        google()
        jcenter()
    }
}
import dep

In the left wizard to import the jar library in the menu is available File > Project Structure > Dependencies, then attach the jar file (or several compiled libraries).

Screenshot 20190505 120924

The application shows calibration on an initial screen with a generated frequency of 1000 Hz sine sound. The user must select the minimum audible sound volume.

After calibration, we need to go through screens from 125 Hz to 8000 Hz and set the minimum volume at which we can hear the sound.

The application was written for the exam on acoustic signal processing for the Military University of Technology in Warsaw.

Screenshot 20190505 121239 1

On the last screen of the application presenting a graph with the calculation of the state of hearing.

For compilation purposes, API 26 (Android Oreo 8.0) was used and the project was compiled correctly.

Compiled Audiogram app (Polish)

An example is available on your GitHub account.

This project was designed for Ubuntu, thanks to your own patches to this small project and works on Windows 10 version 1803, the article with source code.

The main service written in python counts the number of entries to the main address on port 80, we can reset the counter after entering /resetcounter.

This is a great article with the theory on microservice issues

If you want to modify the BIOS to support Intel Xeon processors for Skylake or newer, remember that you make any modifications at your own risk, get a BIOS programmer before the modification process. We need to change Reserved to Yes (alternatively you can use the ME Cleaner tool), we need to change to Intel FIT (Flash Image Tool) as shown on the screen below:

pc mate
Changing the Reserved bit in Intel FIT (Flash Image Tool)

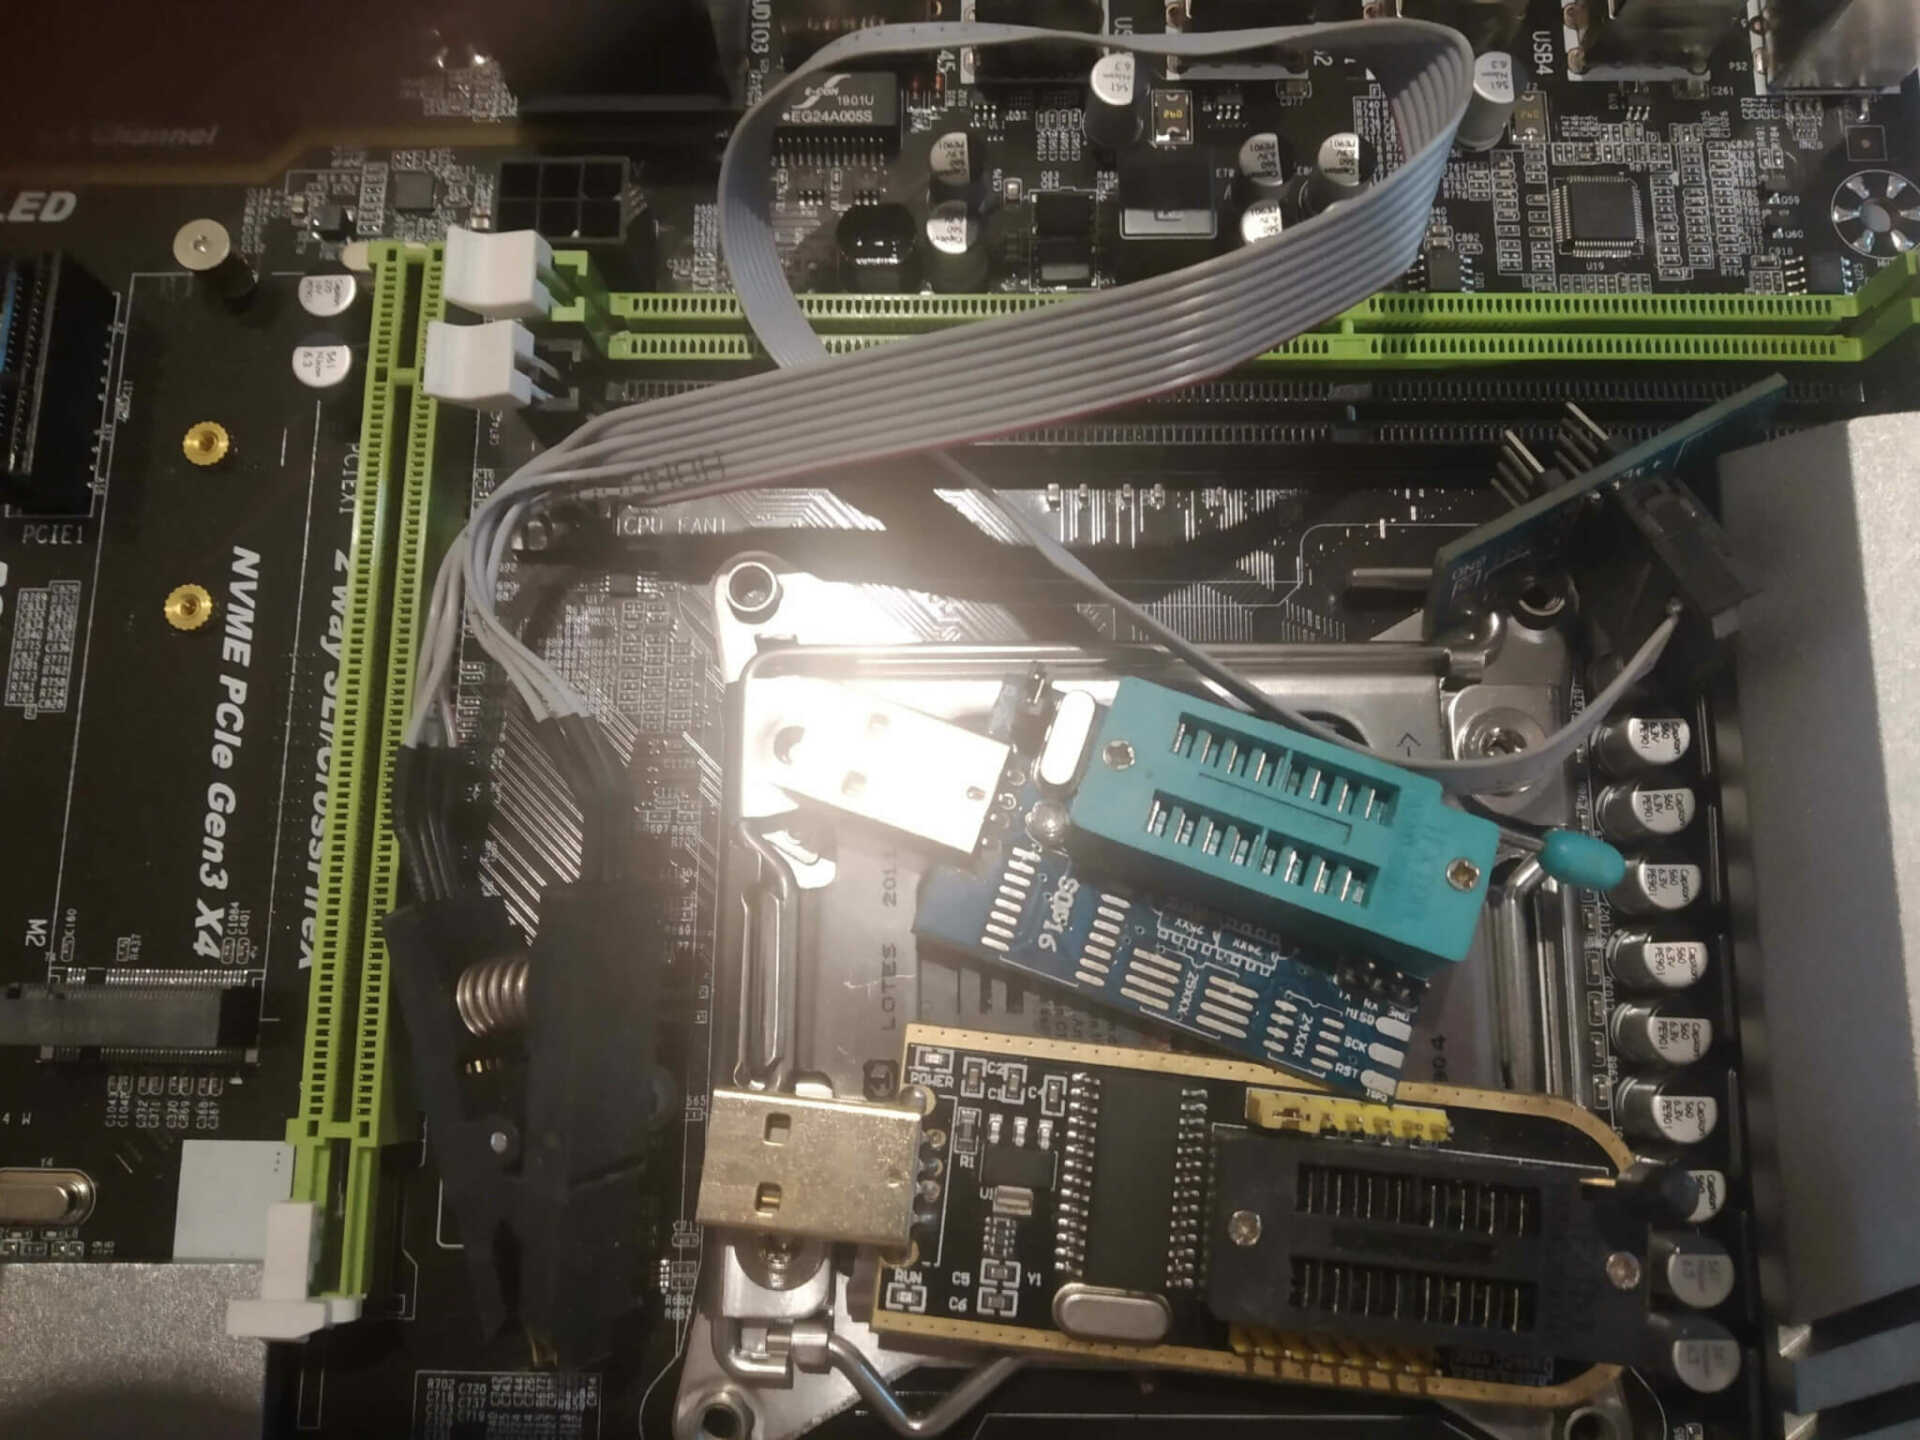
In my case, the modification works with the BIOS version below and equal to A.4. This version of BIOS was dated 2015/07/09 by AIDA64, and the manufacturer’s website shows date 18.09.2015. An attempt to upload version A.5 meant that my motherboard did not boot with the Pentium and Xeon processor, so the BIOS had to be reprogrammed with the CH341A programmer, with the SO8 clip shown in the photo below.

CH341A programmers
Popular CH341A programmer with SOIC8 clip

A newer version than A.5 at each boot restores the BIOS settings to default when booting due to an unusual error, as shown in the photo below.

Unusual error
BIOS reset with an unusual error

Before flashing, we need to check whether the Host Write Access and Local FWUpdate write options must be set to Enabled, when these options are disabled, we must unlock the BIOS using the CH341A programmer.

BIOS options required for flashing

Official MSI support site:

https://www.msi.com/Motherboard/support/Z170A-PC-MATE

Popular Non-K overclocking not working with this mod. This BIOS is avaible here.

Running Xeon Skylake CPU on MSI Z170 Mainboard
Running Intel Xeon Skylake CPU on MSI Z170 Mainboard

Mod discovery links on the win-raid forum:
https://www.win-raid.com/t3873f16-Xeon-E-V-on-MSI-Z-A-PC-MATE.html
https://www.win-raid.com/t3906f39-Xeon-E-v-working-with-MSI-Z-A-PC-MATE-but-with-bios-reset-on-boot.html

Do you have a bent processor PCB? Let’s fix it. I bought it a long time ago at a local auction site this broken processor after a bad installation of the processor in the socket, the two corners of the processor were bent.

lga1151prostowanie
Xeon LGA 1151 after dryer method

The processor was straightened after being heated by the dryer for 2 minutes with many repeats, it lasted 15-30 minutes, the Xeon was used in the motherboard on the Z170 chipset, whose BIOS modification was described in this post: https://cooltronic.pl/2019/08/computer/modification-of-z170-for-msi-pc-mate-z170a/

dzialajacy cpu
Running Intel Xeon after fixing

The Intel CPU in socket 1151 works like a charm after repair.

has been added to the cart. View Cart